
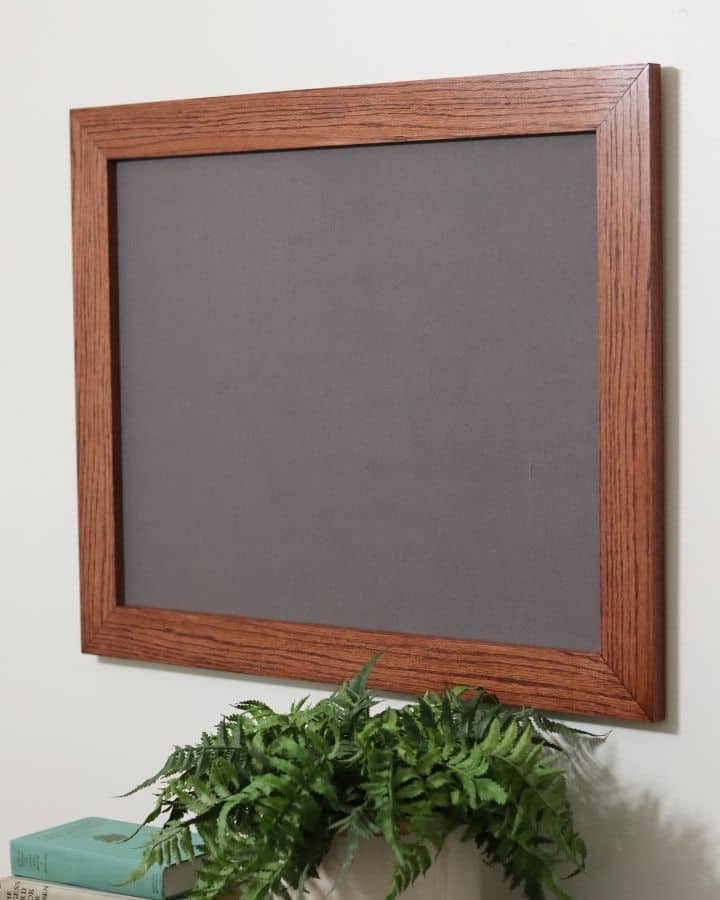
A DIY Felt Board tutorial for those wanting to have an attractive felt board for the home that is perfect for learning and play for kids. This felt board has a wooden frame and blends in well with home decor. In these step by step instructions we show you how to create your own DIY Felt Board.
This post may contain affiliate links which means I make a small commission at no cost to you when you click on the link.
The first year we stared doing homeschool as a family, the curriculum we were using for math required a felt board. Because my husband is oh-so-handy, we decided that he could make a much more attractive one than the ones we saw at the store. Plus, we wanted it to have a wooden frame so that it would look nice with the rest of our home decor.
Once we had it finished, I loved it! So I decided that we should put it in the kids playroom at their level so they could play with it whenever they wanted. I bought felt pieces online and we made a box and filled it with felt pieces for the kids to play with when they got the urge. It has been about 3 years now since we made it and my kids STILL play with it. It is a perfect thing for them to do at rest time. I actually have it up on the wall in our homeschool room and get it down whenever a kid asks to play with it.
How you can use a homemade felt board
- You can use it as a math manipulative for homeschool with young children or older children
- Felt boards are also great learning tools for other subjects other than math
- For fun activities like the kid creating their own stories and own scenes and playing them out on the board
- To recreate favorite stories from books using felt pieces that you buy or they can make their own felt creations with pieces of felt that they cut up and turn into whatever they want! There are free templates online that you could print off and cut into different shapes or characters.
- Recreating nursery rhymes would also be a great thing to do with younger children
- If you are a teacher at a school this could also be used in an elementary school.
Alright, so felt boards have SO many uses, especially if you are wanting to create an educational atmosphere in the home. We use it for homeschool, the kids rest time (story play), spelling practice and math. We bought some upper and lower case letters and a numbers set of of felt pieces. The kids love making words and math equations on it.
Because we love it so much in our house, I thought I would share how we made it. That way, you can make it too if you want! We also sell it here if you want it but don’t have time to DIY. So without further ado, let’s get in to how you can make your own diy felt board with wooden frame!
Supplies for Making a DIY Felt Board
You can get these products at Lowe’s and craft stores like Hobby Lobby or a local craft supply store.
Supplies
- Piece of Felt-we used dark grey
- 2×4 Masonite Backer (1/8″ thick)
- Spray Adhesive
- 1×4 8ft Red Oak Board (3/4″ x 3 1/2″)
- 1 1/4″ Pocket Screws
- Wood Glue
- 5/8″ Brad Nails
- Metal Picture Hangers
- Spray on Polyurethane
- Minwax Red Oak Stain
- Old Rag
Tools
- Table Saw
- Miter Saw
- Kreg Pocket Hole Jig
- Kreg pocket hole clamp
- Drill
- Brad Nailer
- Orbital Sander (optional)
- Router and 1/4″ rabbeting bit (optional)
How to Make a DIY Felt Board with Wooden Frame
Making the Frame
- Go buy all your supplies
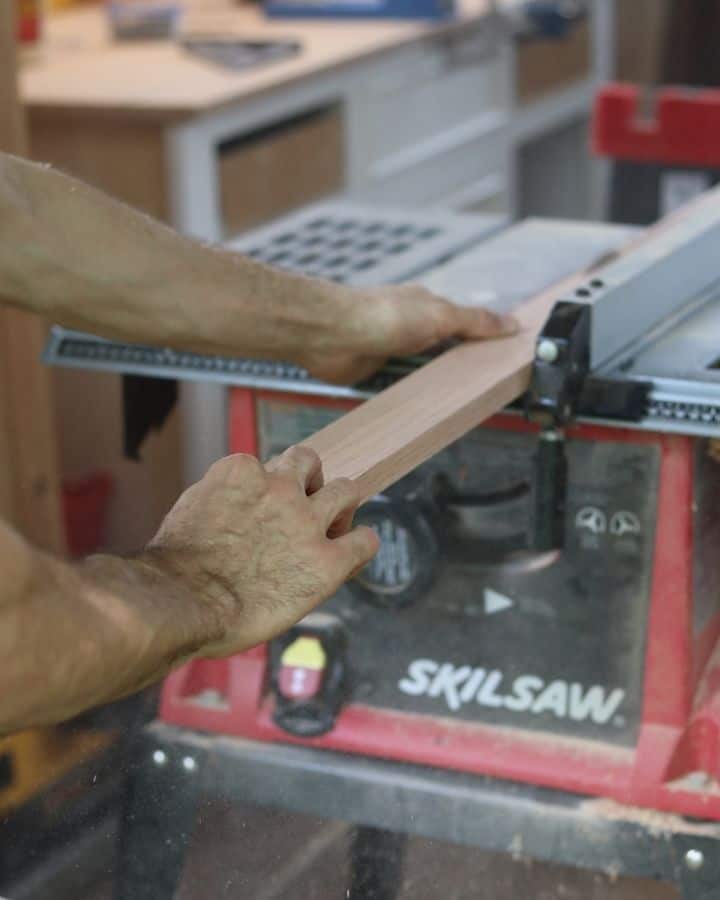
- Rip your oak board down to 2 1/8″ wide using the table saw.
3. Using the orbital sander, sand the face and both edges of the entire board to remove all chatter marks and saw marks. All scratches or rough spots in your board will show up a lot more after you apply the stain. So be sure and do a thorough job.

4. Now set your miter saw at 45 degrees and cut two oak pieces at 27 3/4″ from long-long point. Cut two more pieces at 22″ long-long.

5. Using your router, cut a rabbet groove 1/4″ x 3/16″ on the back side of all 4 of your oak pieces. Be sure to do this on the short-short edge of your pieces. This creates the groove that your Masonite backer will fit into. You can also do this step with a table saw if you do not have a router or do not want to invest in one at this point.

6. Next, set up your pocket hole jig for 3/4″ material and drill two holes on both ends of the short oak boards. This prepares the pieces to be joined together.

7. For this step you will need the wood glue, pocket hole screws, clamp and drill. Apply a small amount of glue to the end of one of the long oak pieces and join it and one of the short pieces together using your clamp. The clamp will keep your work pieces from moving. Now put both screw in their pocket holes and screw them in until the seam is tight, but being careful not to strip the wood by screwing them in too far.

8. Repeat step 7 three times. Now your frame is completely assembled!
9. Wipe on the red oak stain (or whatever color you choose) all around the frame. Allow it to soak for a couple of minutes and then wipe it off using a clean rag.

10. After stain is dry, spray on the polyurethane evenly until the face and both edges of the frame are coated and sealed.
Making the Felt Lined Backer and Finishing Assembly
11. Now you will need cut your masonite backer to fit inside the back of your frame. Measure the opening, and cut your backer 1/8″ smaller both directions using the table saw. It should be about 18″ x 23 7/8″. Cutting the backer slightly smaller than the opening will allow room for your felt to wrap around between the frame and backer.

12. Cut your felt piece to be 1 or 2 inches bigger than the backer in both directions.
13. Taking the spray adhesive, spray an even coat across the entire surface of the smooth side of the masonite backer.

14. Working your way from one end of the backer to other, slowly apply the felt to the sprayed surface, making sure to avoid air bubbles and wrinkles, and letting the excess felt hang over the edges of the backer. Having the felt bigger than the backer gives you some wiggle room as you apply it.

15. Next, squeeze a small bead of glue into the rabbet groove in the back side of your frame and insert your felt and backer into the frame. Nail it in with your 5/8″ brad nails in the corners and about every 6 inches.


16. Finally, nail on two metal picture hangers on the back of your frame and you are done!

Our favorite felt sets to use with it
Pizza Set
SAVE FOR LATER

I love felt boards – there’s something so magical and simple about felt sticking to felt. What a lovely felt board you made and an easy to follow method!
Thanks so much! I love felt boards too. And I know! Being able to stick something on there and immediately take it off is such a wonderful, simply joy.
What a beautiful piece! Homemade furniture pieces are always the best and this is a wonderful example. Never thought to get a felt board because all of the ones I have seen are not very attractive. Thank you for sharing the directions along with ideas for how to use one with kids.
Thank you! And I agree, homemade wooden furniture like this with good hardwood lasts so long!! And same with me, I actually researched felt boards and just thought that all of them weren’t very nice looking so that’s why I had my husband build a nice wooden one. Glad I could share!
Oh! This is such a cute idea! My toddlers would love this! Thanks for sharing!
This is great! I know my kids would love this, especially my oldest. I’m going to pin this one for later. Thanks for sharing!! 🙂
Oh I know they would!! There are so many fun felt sets to buy to go with this that can cater to different kids interests. So glad I could share!